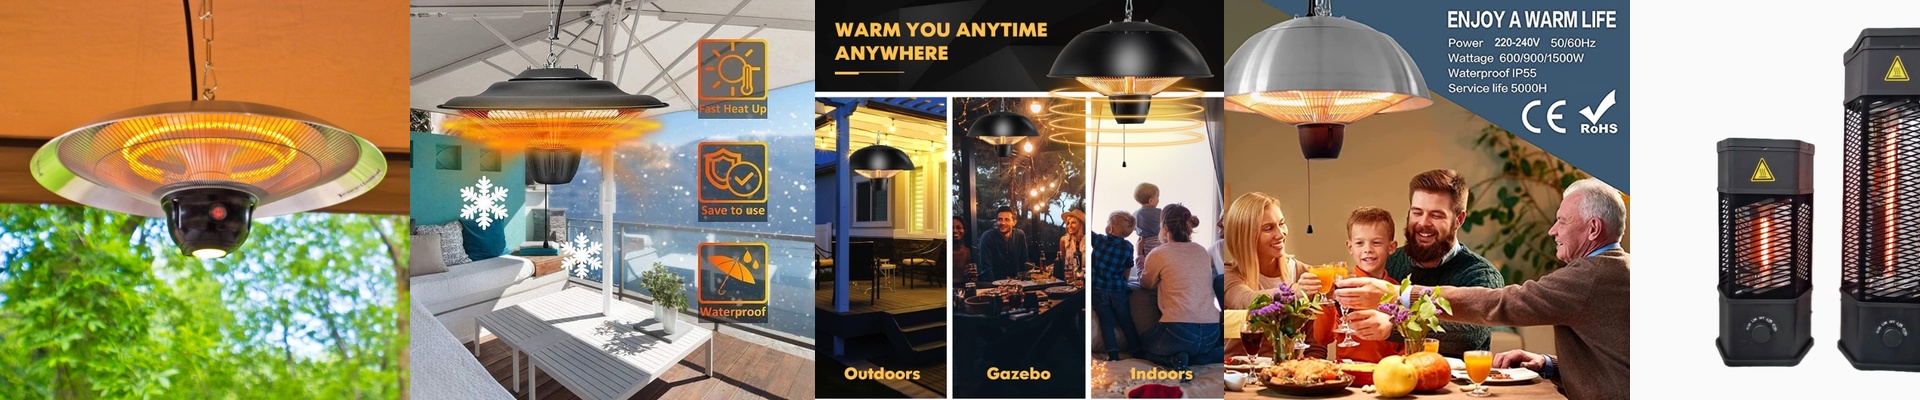
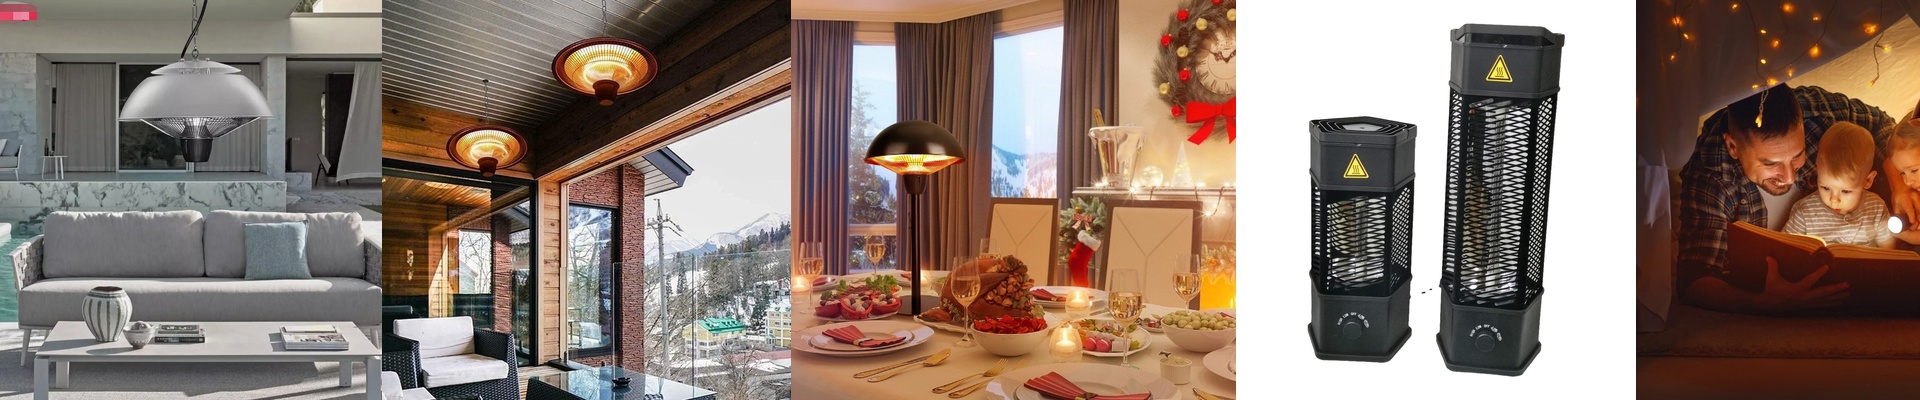
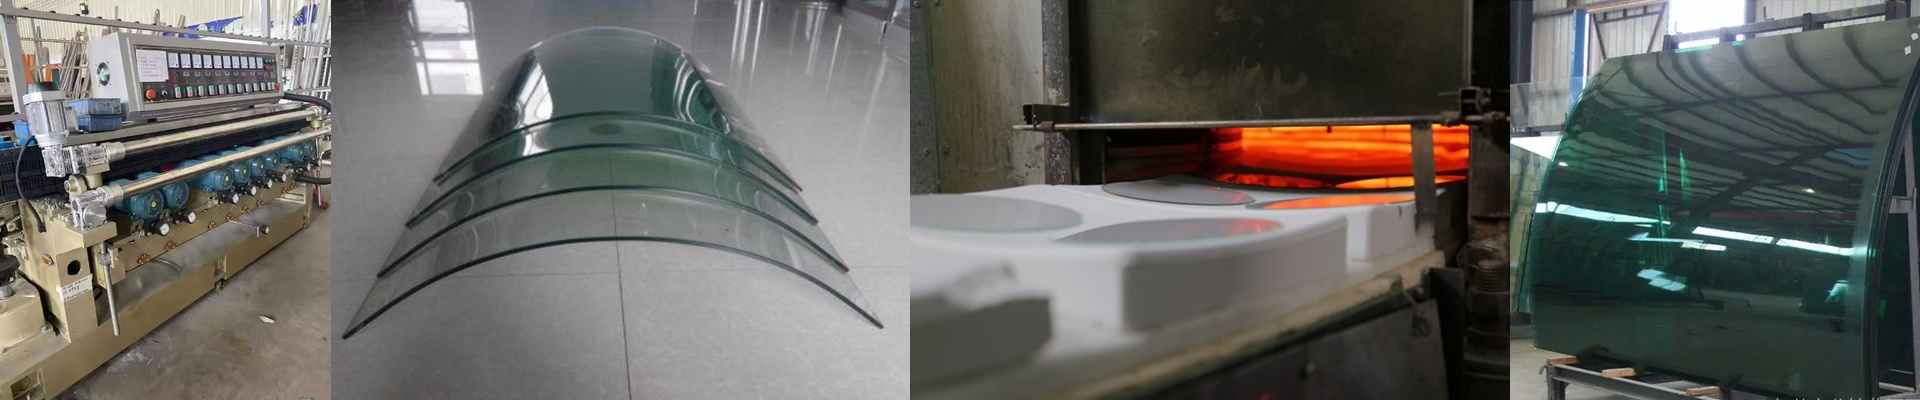
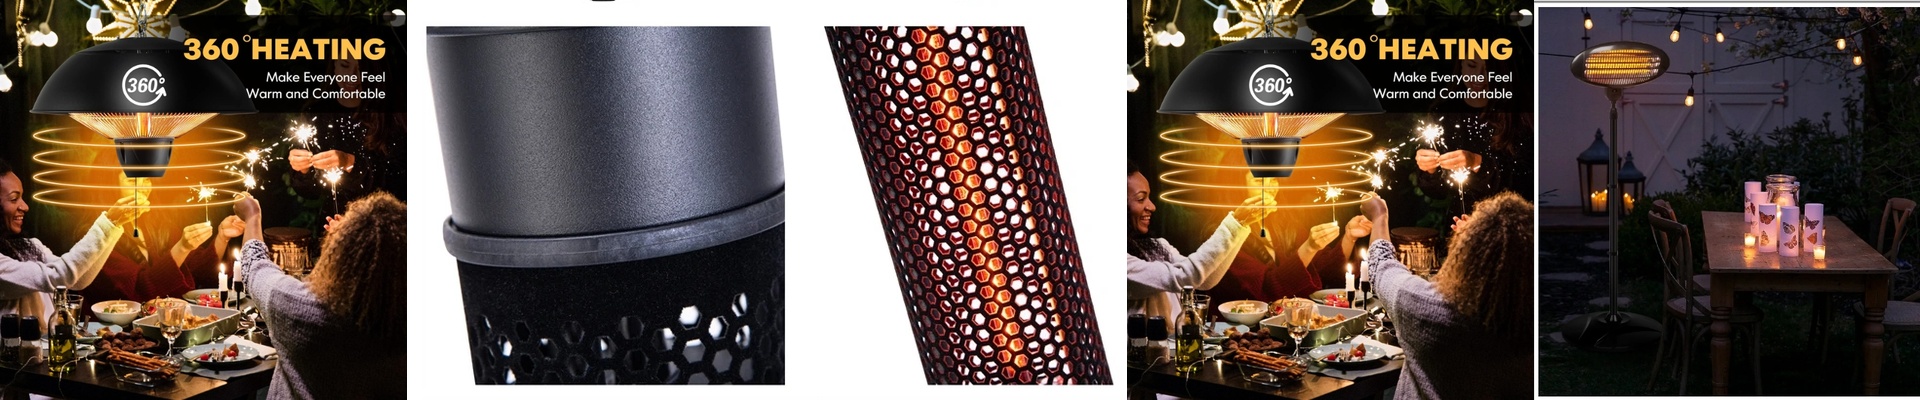
On the bench, a DIY bottle cutter heater isn’t a luxury. It’s the difference between a clean break and a shattered mess. Uneven heat builds thermal stress, and thermal stress makes the glass do the unpredictable. We built this heater to give you repeatable, localized heat, so you can score with confidence—whether you’re running small batches or just trying out a production trick. What’s under the hood, and why it matters This unit runs short-wave infrared elements in a compact quartz assembly. The payoff is fast response and tight control. Power is sized for typical benchtop work, with voltage options that match standard shop supplies. The emitters lay down a focused thermal profile, so you’re not dumping heat all over the place or stirring up convection that can mess with nearby materials. Response is quick enough to hold steady through short cycles, and the geometry keeps the thermal field uniform across the scoring zone. Here’s the thing with bottle cutting: you need a consistent heat band. If that band drifts, the score line wanders, and the glass fails along paths you didn’t want. With this heater, the temperature rise is predictable, so the scoring window stays repeatable. You get cleaner separation, fewer micro-cracks, and a safer process because the heat stays where it belongs. Energy use stays sensible, and cycle-to-cycle stability cuts the variability that shows up as scrap. A few shop-floor realities Mounting and alignment matter. The heater has to be fixed so the thermal pattern lines up exactly with the cutting path. Even a small offset changes the stress map and can drive the glass into chipping. Check clearances and keep the emitter face clean—emissivity shifts with residue. Expect a warm-up period to reach stable output, and plan your sequence around it. This isn’t a plug-and-play for every fixture; match the bracket dimensions and power connections before you commit to integration.